DIY Car Scratch Repairs: What You Can Do at Home


Understanding Car Scratches
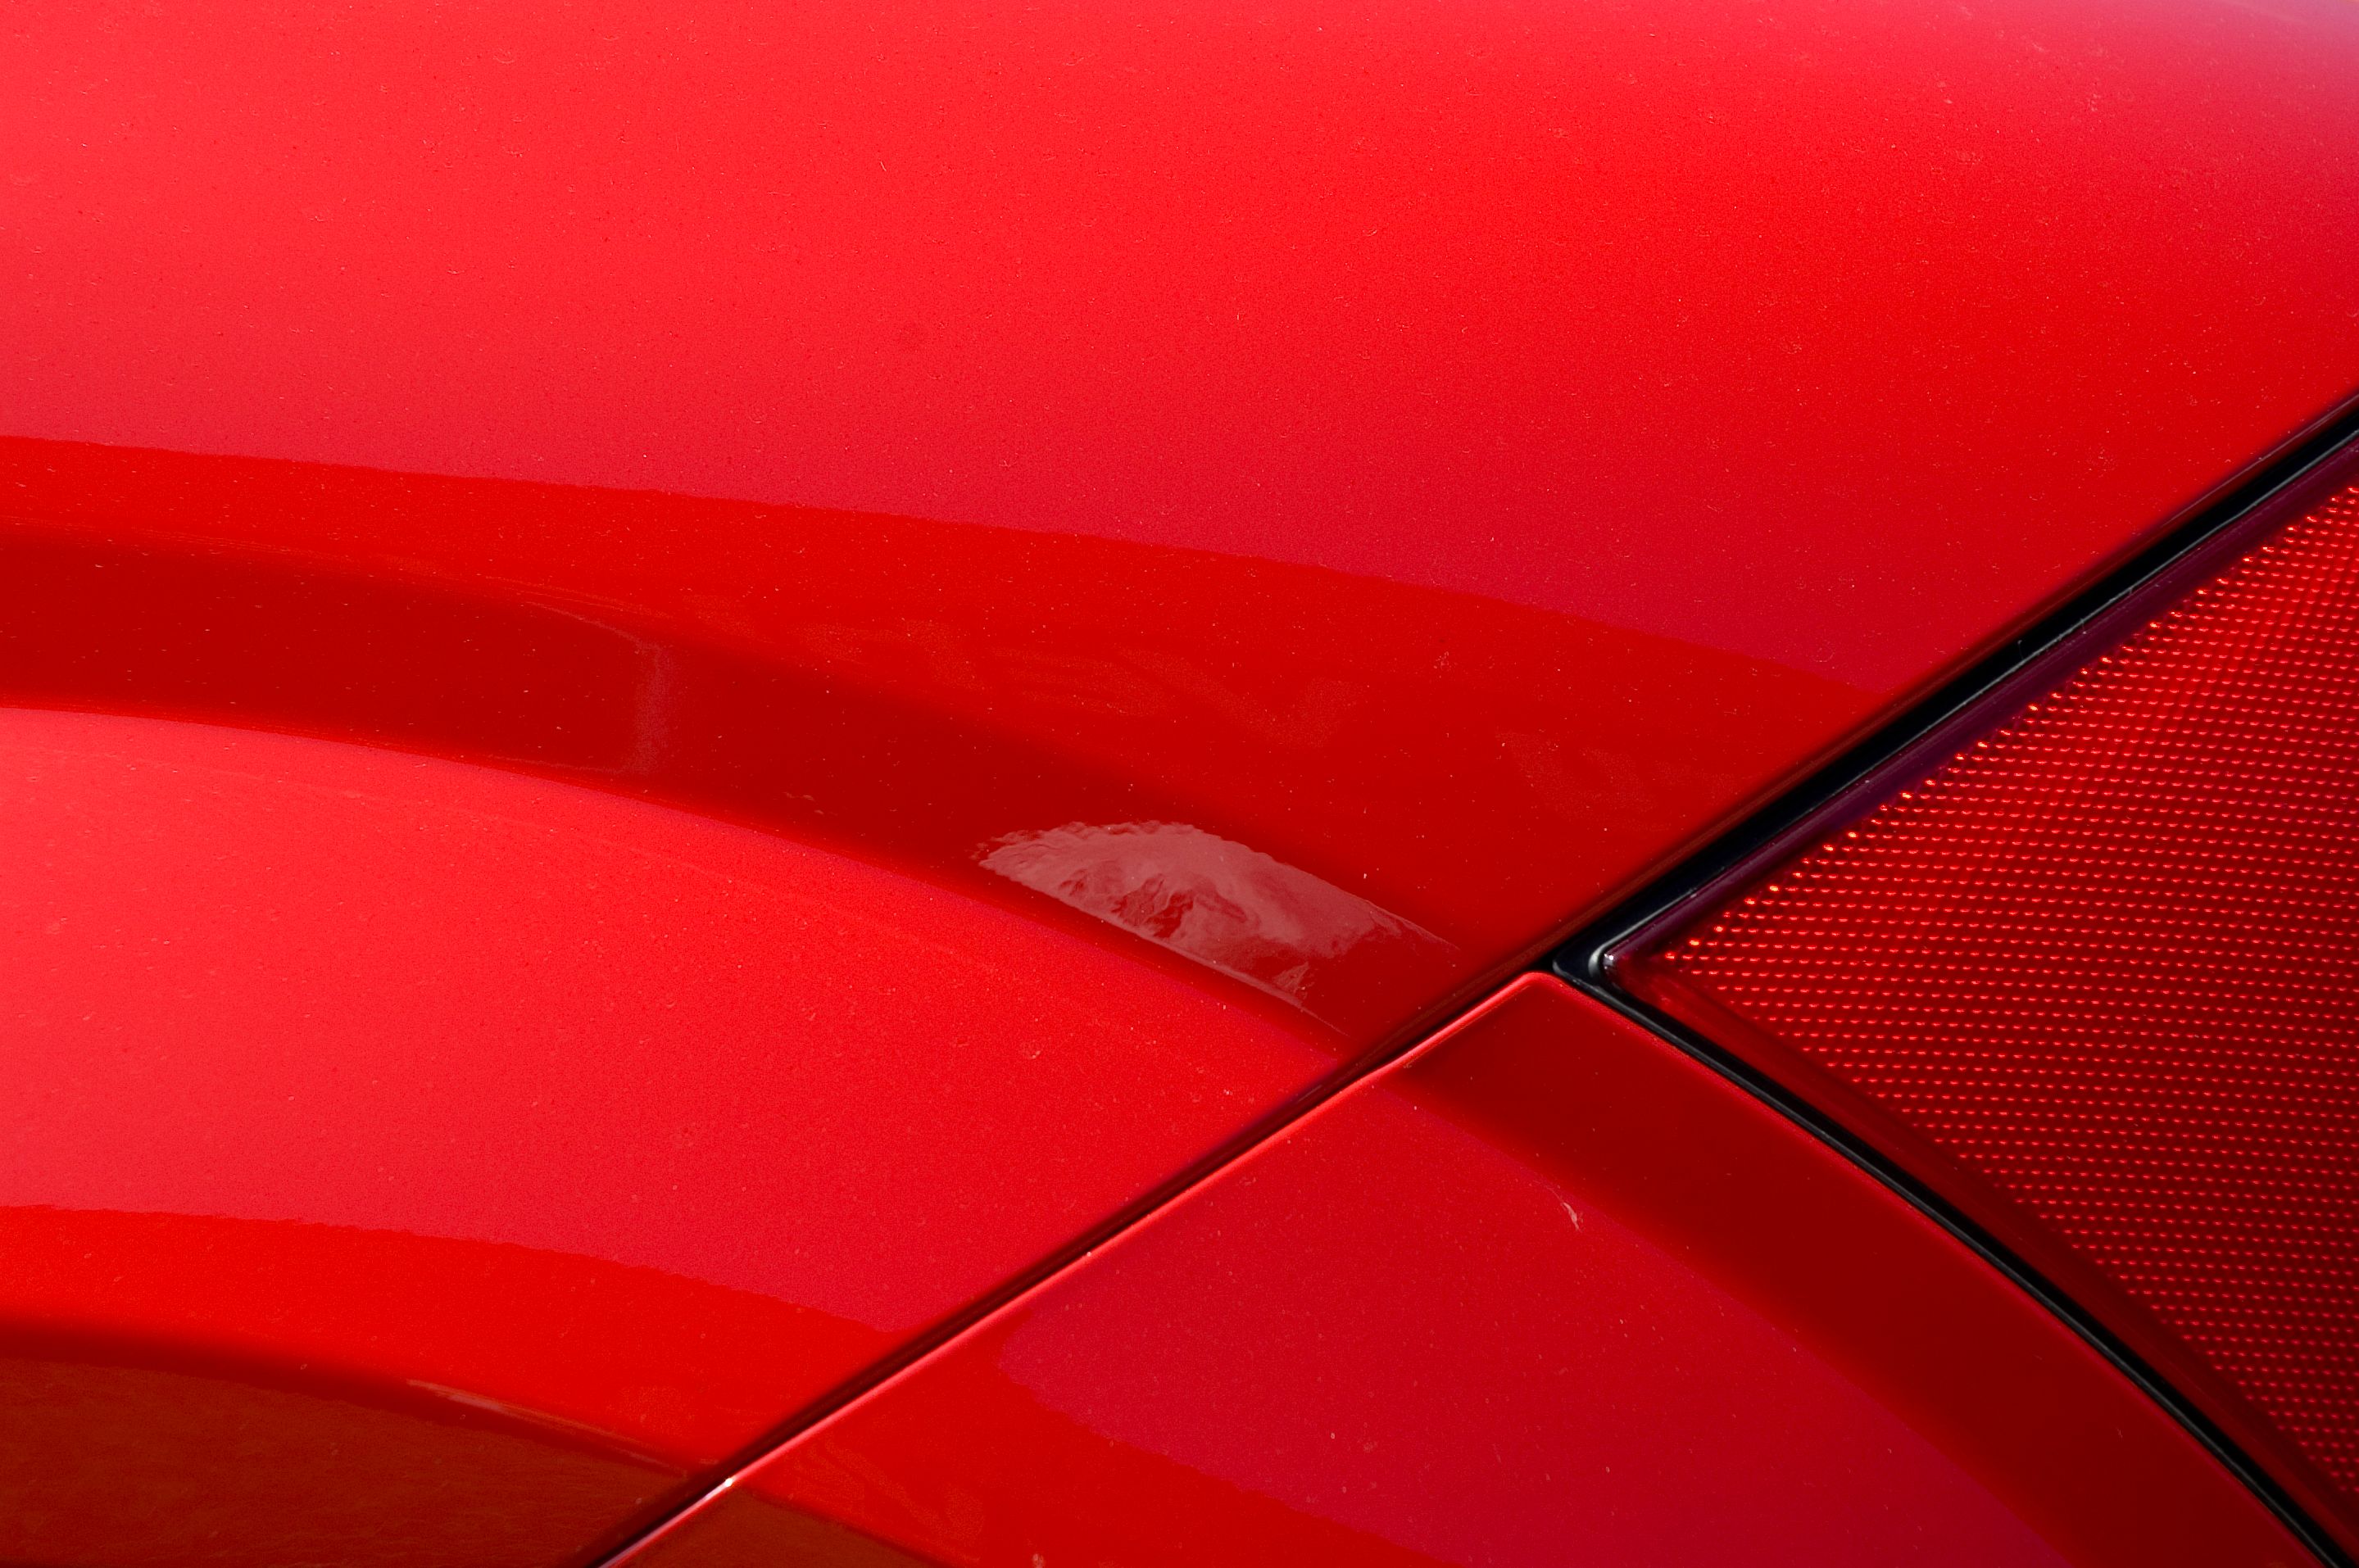
Car scratches can be frustrating, especially when they mar the pristine look of your vehicle. They can occur from various causes such as stray shopping carts, overgrown bushes, or even minor accidents. Fortunately, many scratches can be repaired at home with a bit of patience and the right tools. Understanding the type of scratch is crucial in determining the best repair method.
Scratches can generally be classified into three categories: clear coat scratches, primer scratches, and deep paint scratches. Clear coat scratches are the most superficial and easiest to fix, while primer and deep paint scratches may require more effort and expertise.
Gathering the Right Tools and Materials
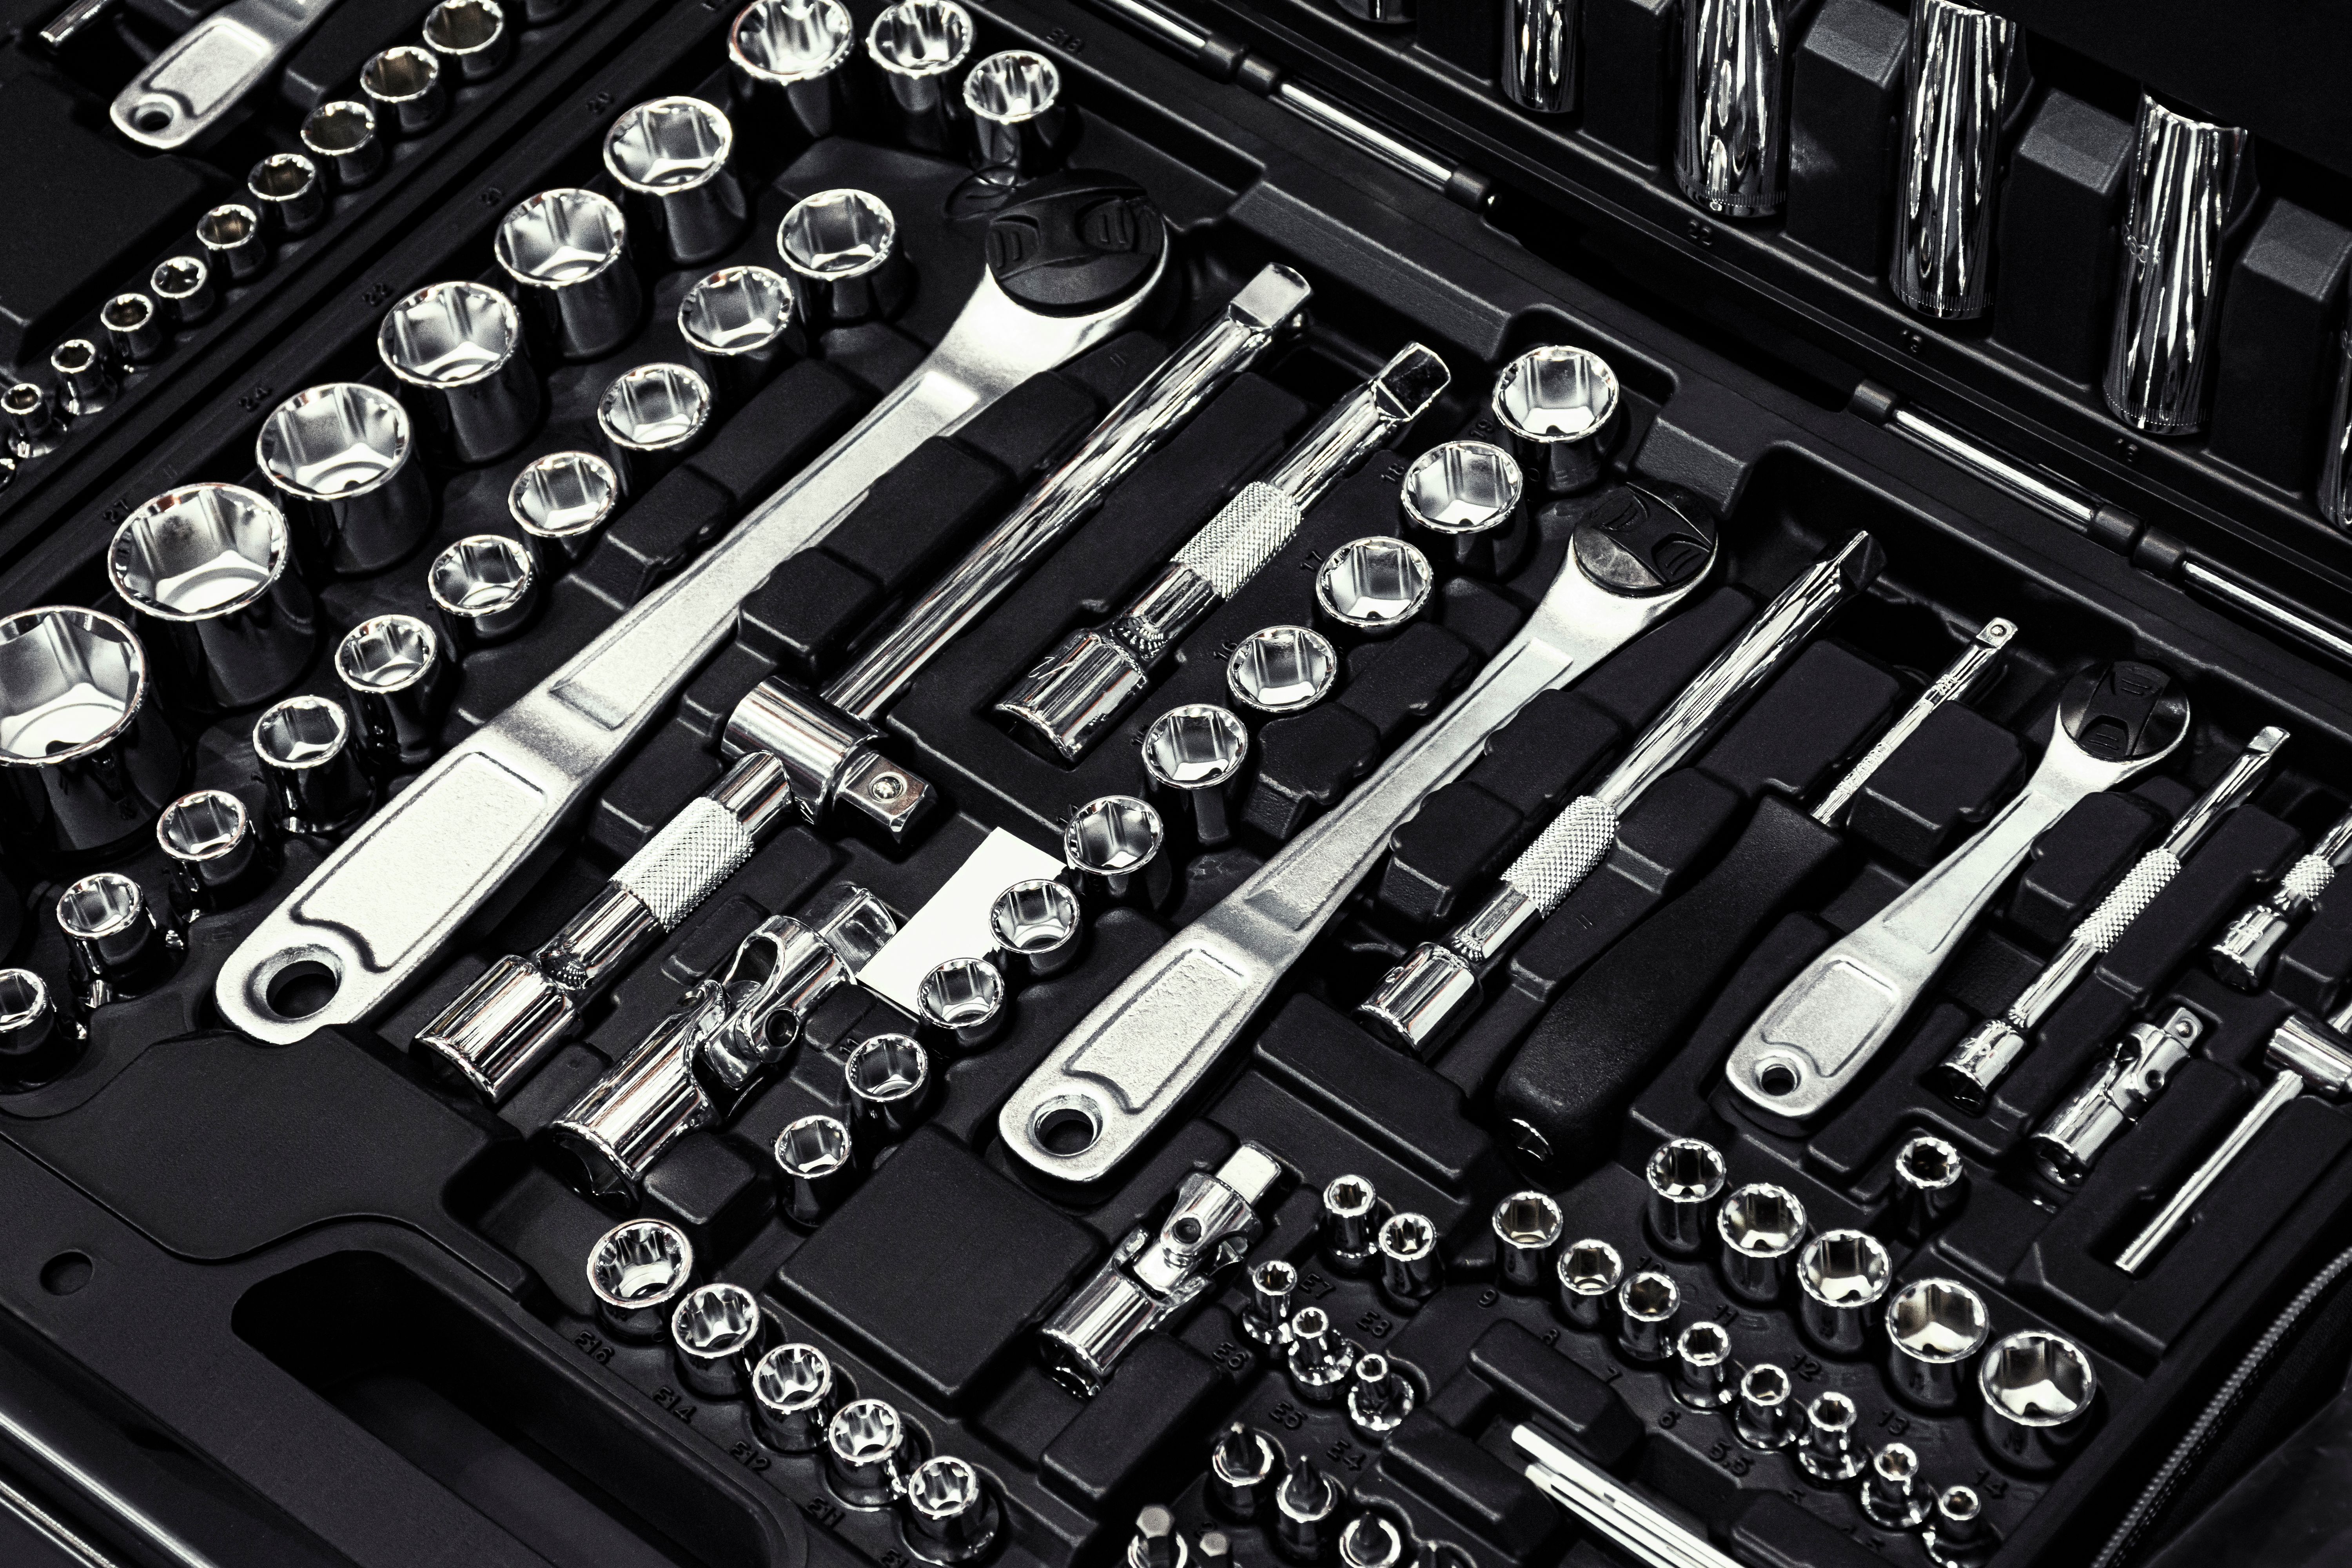
Before you begin, it’s important to gather all necessary tools and materials. For DIY car scratch repairs, you will typically need:
- Microfiber cloths
- Car wash soap
- Scratch repair kits or touch-up paint
- Sandpaper (various grits)
- Polishing compound
- Wax
Having these items on hand will make the process smoother and more efficient. Scratch repair kits often contain multiple products designed for different scratch depths, making them a versatile choice for home repairs.
Step-by-Step Repair Process
Once you have everything you need, follow these general steps to repair minor car scratches:
1. Clean the Affected Area
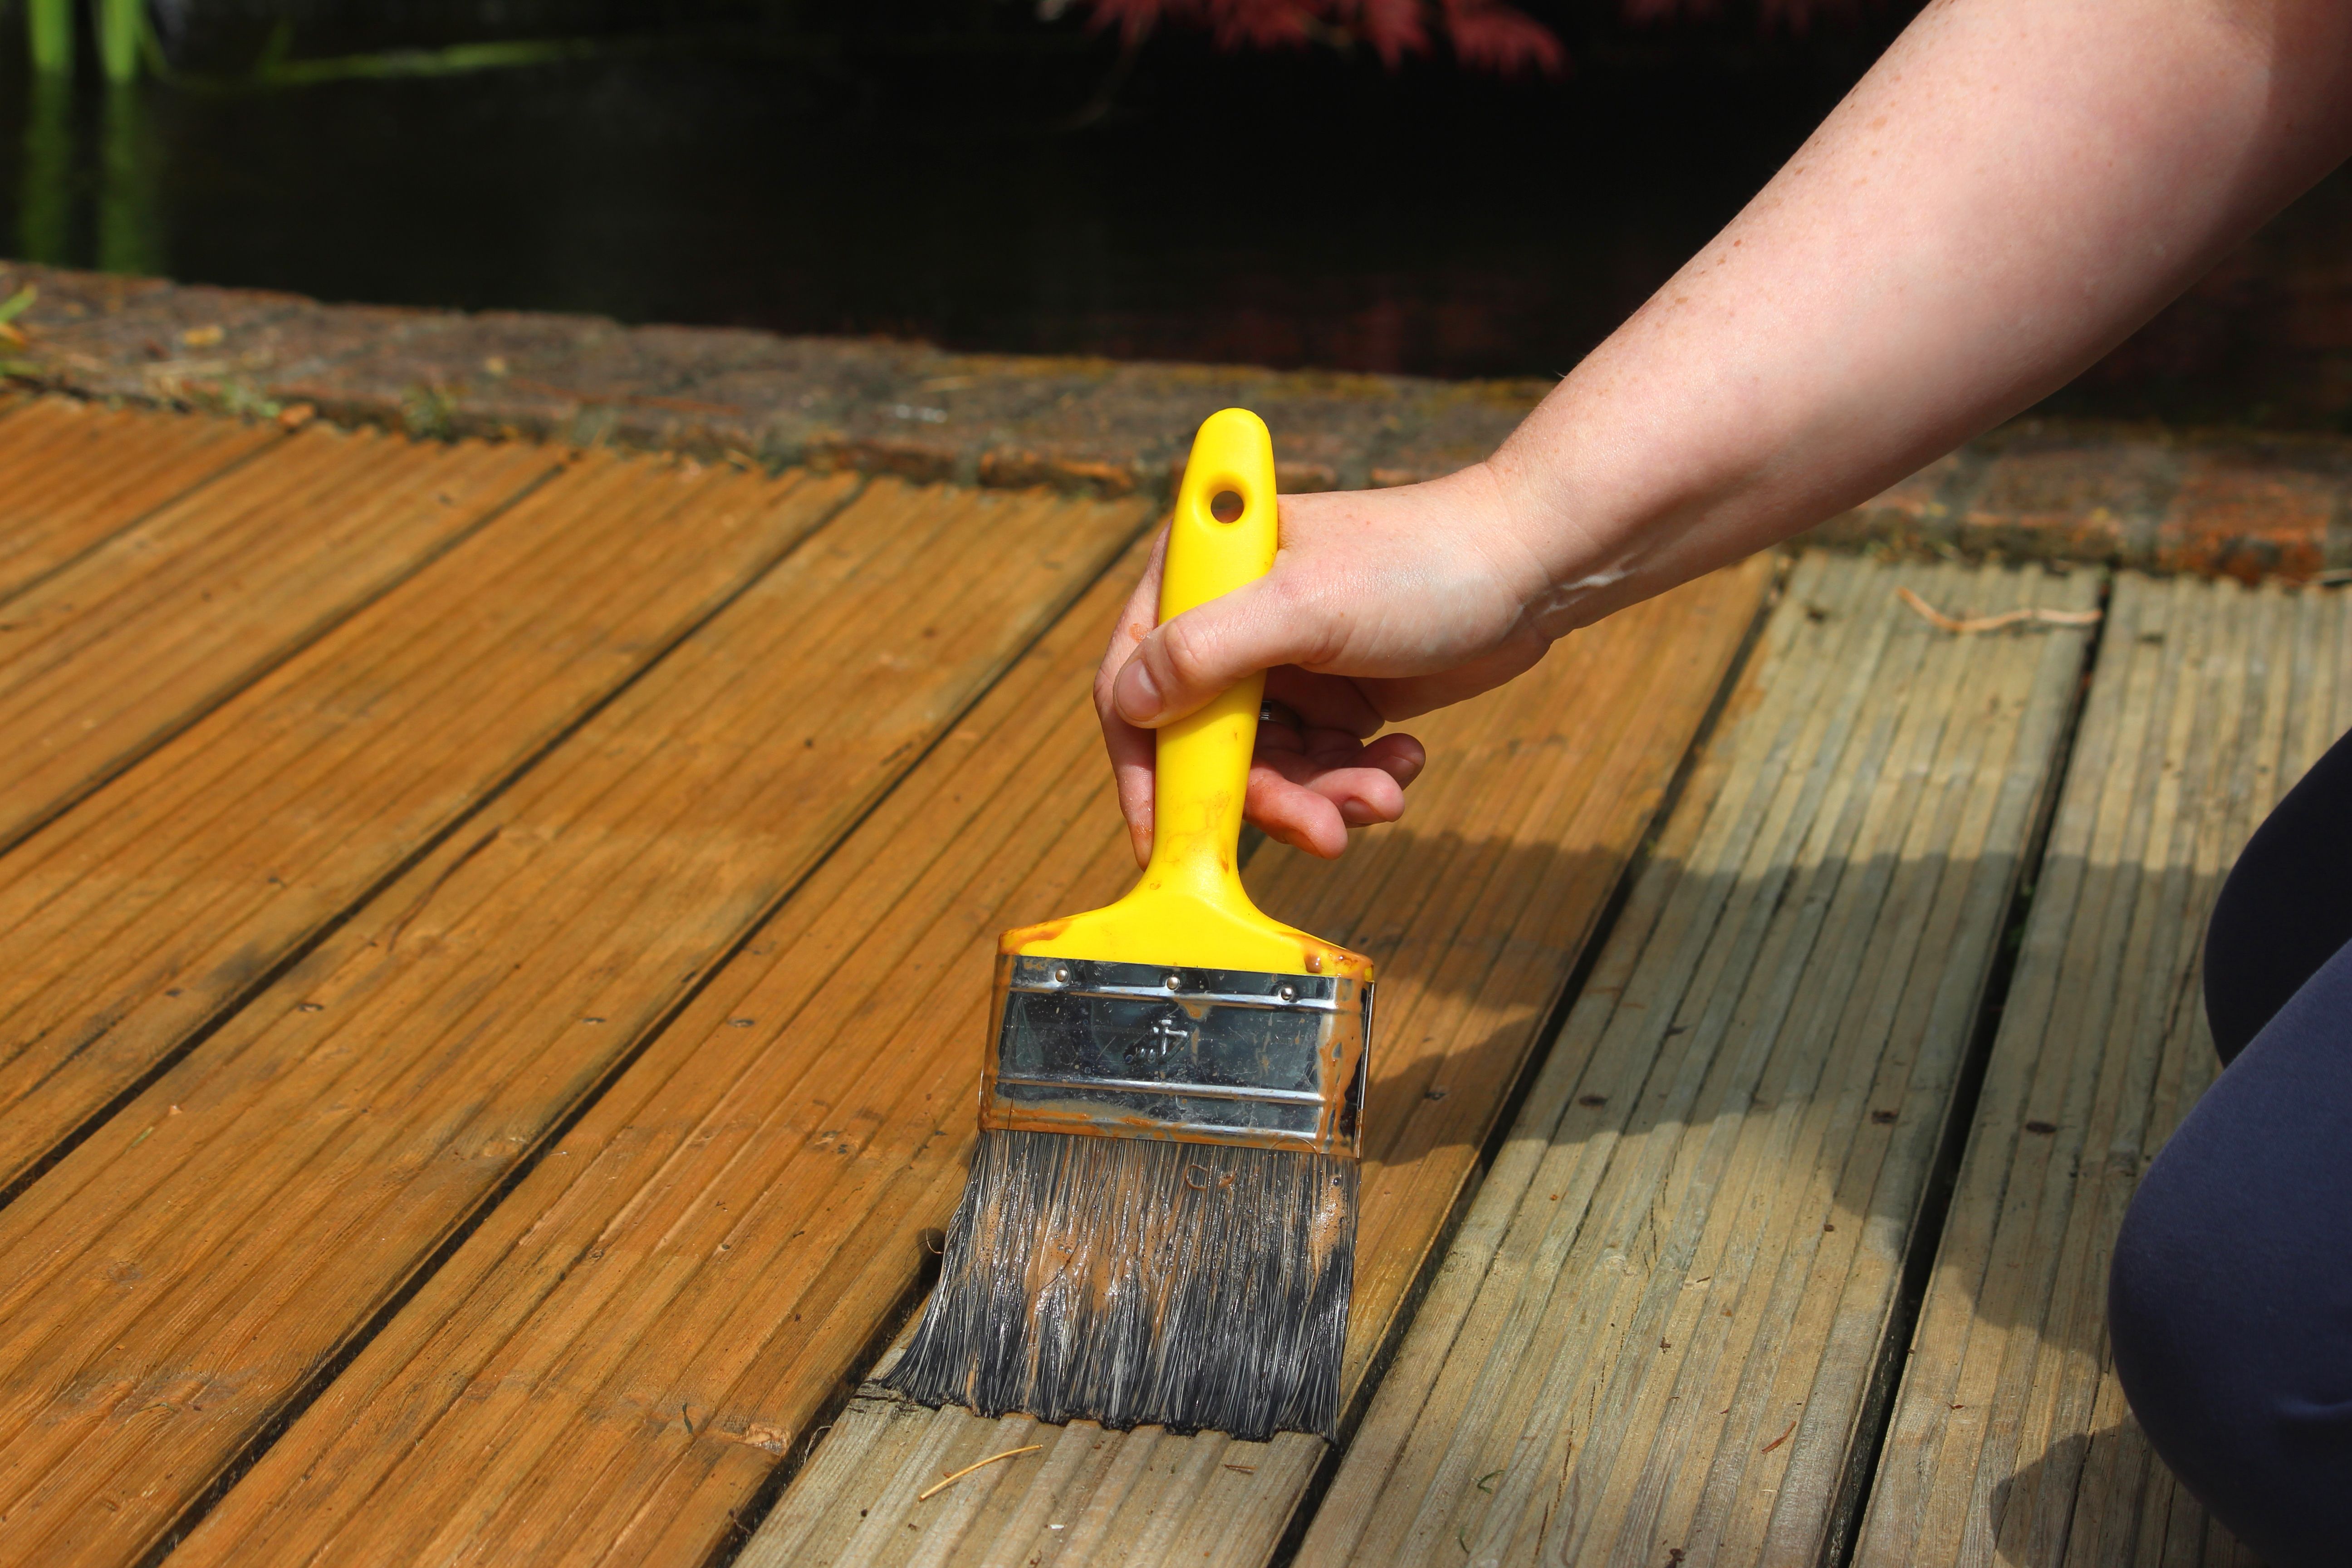
Start by washing the scratched area thoroughly with car wash soap and water. Use a microfiber cloth to avoid adding more scratches. Ensuring the area is clean will prevent dirt and debris from being trapped beneath the repair materials.
2. Assess the Scratch Depth
After cleaning, closely examine the scratch to determine its depth. If it’s a clear coat scratch, you can usually feel it but not see any color beneath it. Deeper scratches that expose primer or metal may require additional steps or professional help.

3. Sand and Smooth (If Necessary)
If the scratch is deep, you may need to sand the area lightly with fine-grit sandpaper. This step should be done with caution to avoid further damage. Sand until the surface feels smooth to the touch.
Applying Repair Products
After preparing the surface, it’s time to apply your chosen scratch repair product. Follow these guidelines:
1. Use a Scratch Repair Kit
Most kits come with a rubbing compound and a polishing compound. Apply a small amount of rubbing compound to the scratch using a clean microfiber cloth, rubbing in circular motions until the scratch begins to fade.
2. Apply Touch-Up Paint (If Needed)
If deeper scratches are present, use touch-up paint that matches your car's color. Apply it carefully with a fine brush or pen, and allow it to dry completely before proceeding.
Final Touches
Once the repair product has dried, apply a polishing compound to restore shine to the affected area. Buff it with a clean cloth until you achieve a smooth, glossy finish. Finally, apply a coat of wax to protect the repaired area from future damage.
By following these steps, you can effectively repair minor car scratches at home, saving time and money while maintaining your vehicle's appearance. With practice, you'll become more confident in handling these small blemishes on your own.